Progress on the engine cover has been steady over the last week or so. After modifying my Sealey metal folder I was hopeful of a pretty good result with bending the flanges on my nicely wheeled panel and it did a fair job. Far more precise and uniform than was possible before my modifications but in all honesty still not as crisp as the edges on the original. I tried a number of things to crisp them up before making a doohickey especially for the purpose.
The simple device I made, by cutting a slot in a square drift allows me to hammer down on the edge of the flange to drive into the corner whilst at the same time preventing the flange from distorting. The slot is a couple of millimetres shorter than the flange, thus ensuring I don’t damage the face. Used alternately with a slapper & dolly on the side of the flange I smartened up the angle pretty well. It might need a bit more work when I try fitting it but we’ll see… A little shrinking of the edges produced the right profile to the panel and it started to look pretty good. Of course this brought me to just the point in the production process where you can really balls it up.
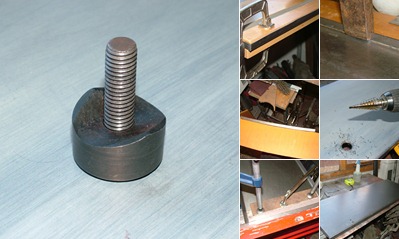
The handle passes through the skin with a shouldered hole. The aperture is 29mm but the shoulder is a couple of mill deep so the hole size needed to be 25mm. I own one hole punch…it’s 30mm. After a brief period of swearing and stamping my foot I realised that the punch had a nice taper on the back edge that might prove useful after all. A test piece confirmed that it was spot-on for starting the shoulder! After carefully transposing the position from my paper template I drilled and used the punch to create a witness mark. A step drill and die grinder soon roughed out the hole and after hand finishing with a file I ran the punch again with an improvised flaring attachment.
After a whizz round with the aviation shears… A pretty passable engine cover skin. Now if only I had something to attach it to.


